Stop account takeovers
Every second, a phishing attack takes place
9 out of 10 cybersecurity breaches are caused by simple mistakes such as clicking on fraudulent links that look real but are not.
Yubico can help.
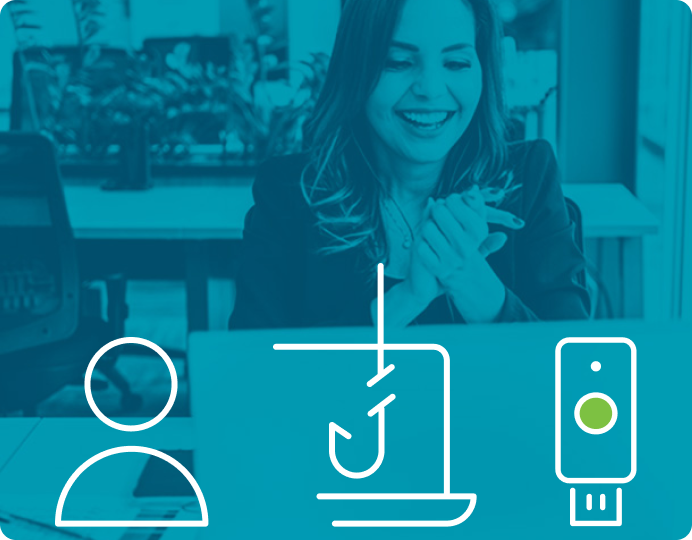
Human error is the #1 cause of breaches due to phishing
Yubico has you covered. The YubiKey is never fooled, even if users are.
Raising the bar for security with phishing-resistant MFA
To stop modern threats you must have modern phishing-resistant authentication. The YubiKey is hardware authentication reimagined. Secure the identities of your employees and users, reduce support costs, and experience an unmatched user experience.
0
account takeovers
92%
reduction in support calls
4x
faster login
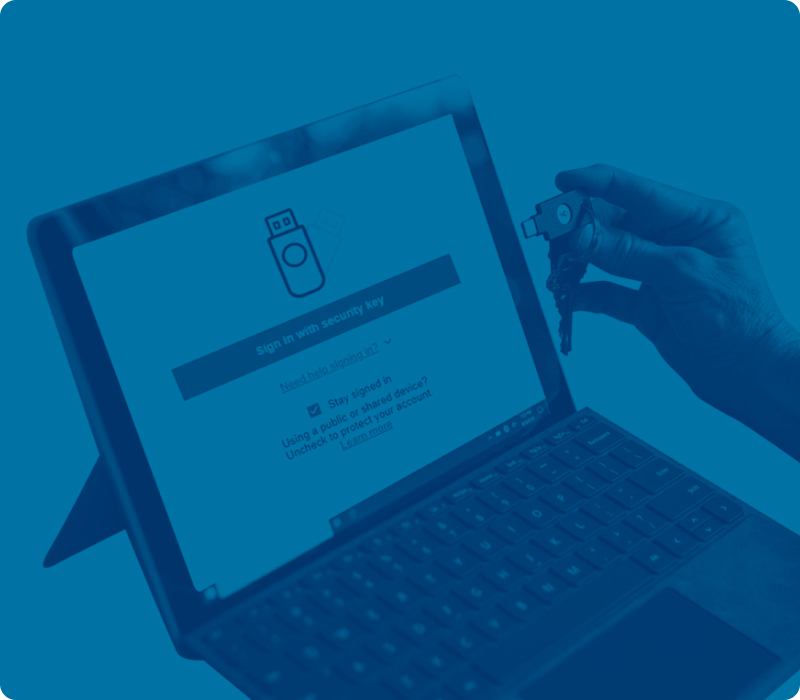
How the YubiKey works
YubiKeys support multiple authentication protocols so you are able to use them across any tech stack, legacy or modern.
No more reaching for your phone to open an app, or memorizing and typing in a code – simply touch the YubiKey to verify and you’re in. Once an app or service is verified, it can stay trusted. It’s that easy.
Accelerate Zero Trust with phishing-resistant MFA
Implementing a Zero Trust framework is a journey. Phishing-resistant MFA is a foundational aspect of that journey and the fastest way to reduce attack surface and improve risk profile.
Accelerate Zero TrustGo passwordless with the most secure passkeys
Passwords and legacy MFA are no longer sufficient to protect enterprise users. Yubico offers the most secure passkey authentication approach that accelerates passwordless and stops account takeovers in their tracks at scale.
Go Passwordless
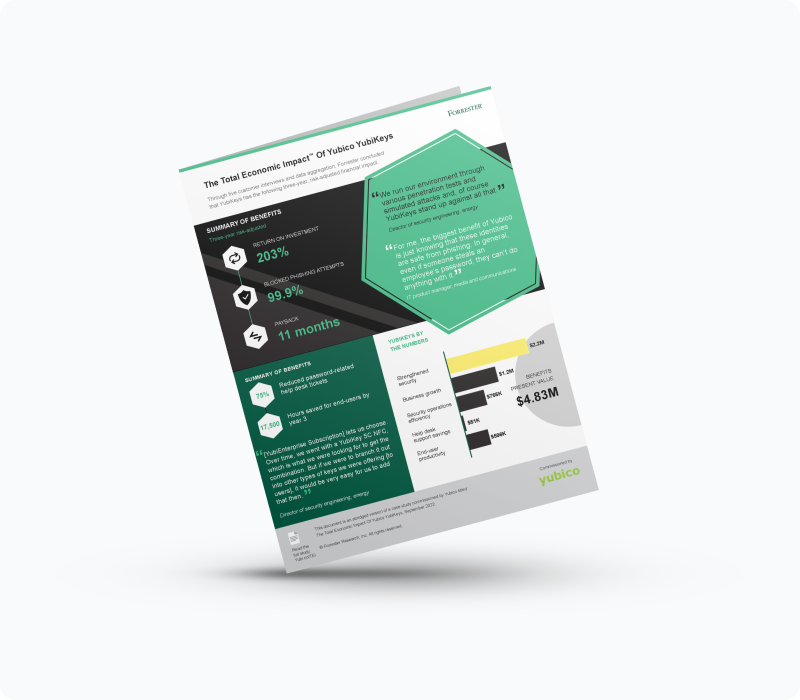
The Total Economic ImpactTM of Yubico YubiKeys
Read the Forrester Consulting study commissioned by Yubico and see how a composite organization reduced risk by 99.9%, saw a drop in password-related helpdesk tickets by 75%, and experienced a 203% 3-year ROI with YubiKeys.
Uplevel your existing security
Yubico’s solutions work out-of-the-box with your existing security solutions making them stronger and more resistant to modern cyberthreats, and able to meet the most stringent compliance requirements.
Ready to scale phishing-resistant MFA?
Modern threats demand modern security across your organization. Simplify YubiKey acquisition, logistics, roll out, and management with YubiEnterprise Subscription. Gain peace of mind with flexible, cost effective plans for your enterprise needs.

What the industry is saying
“Yubico’s role in the industry is unique, the solutions that Yubico offers today are the next generation of identity security. The rest of the world needs to catch up with Yubico and not the other way around.”


Get started

Small and medium-sized businesses underestimate the risk of a cybersecurity breach
1/3
1 in 3 breaches involve an SMB.
52%
of SMBs experienced at least one cyberattack in the last year.
40%
do not have a comprehensive cybersecurity incident response plan.
To stop modern threats you must have modern phishing-resistant authentication.
YubiKeys can stop account takeovers because of their trusted relationship with the applications and services you use. Even if you click on a phishing email, the YubiKey will know that the link is not the right one. The YubiKey is never fooled.
By adding YubiKey hardware security keys your business can significantly reduce cyber risks and keep your intellectual property, customer and financial information safe.
How the YubiKey works
YubiKeys work with any tech stack, legacy or modern.
No more reaching for your phone to open an app or type a code – simply touch the YubiKey to verify and you’re in. It’s that easy.
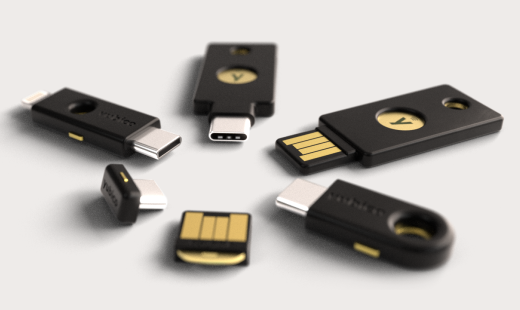
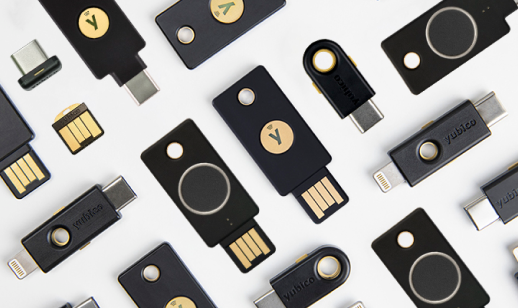
YubiKeys are available in a variety of form factors to support your workforce; in-office or remote. Let us help you find the right options for your organization.

What your peers are saying
“Access and identity are the true perimeter of a remote organization. There’s nothing better than a hardware device for protecting this.”
Get started

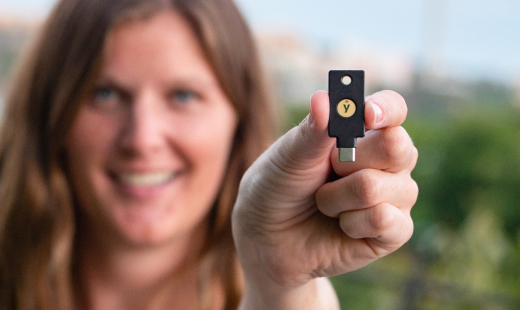
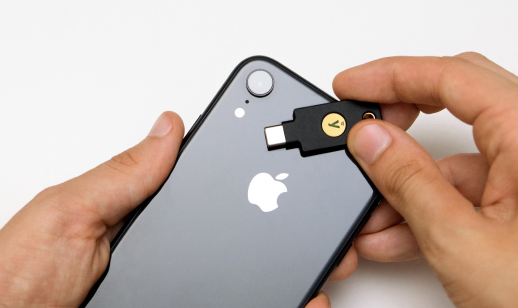
Protect the digital you
See how easy it is to have YubiKey protect your identity, accounts and devices.
The YubiKey works with your favorite applications and services
No more reaching for your phone to open an app or type a code – simply touch the YubiKey to verify and you’re in. It’s that easy.
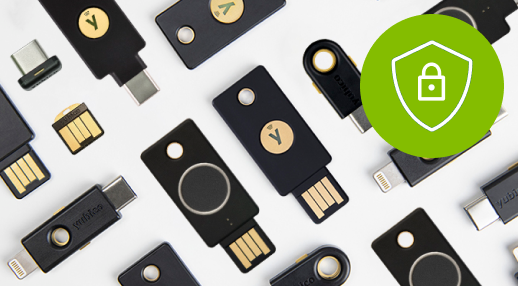
YubiKeys are available in a variety of form factors to work with all of your devices. Let us help you find the right ones for you.

PC Magazine Editor’s Choice award and a 5.0 Exemplary rating
“Although there are many ways to do MFA, security keys are a highly secure and convenient option. Login codes sent via text message can be intercepted, and authentication apps require that your phone be charged and available.”